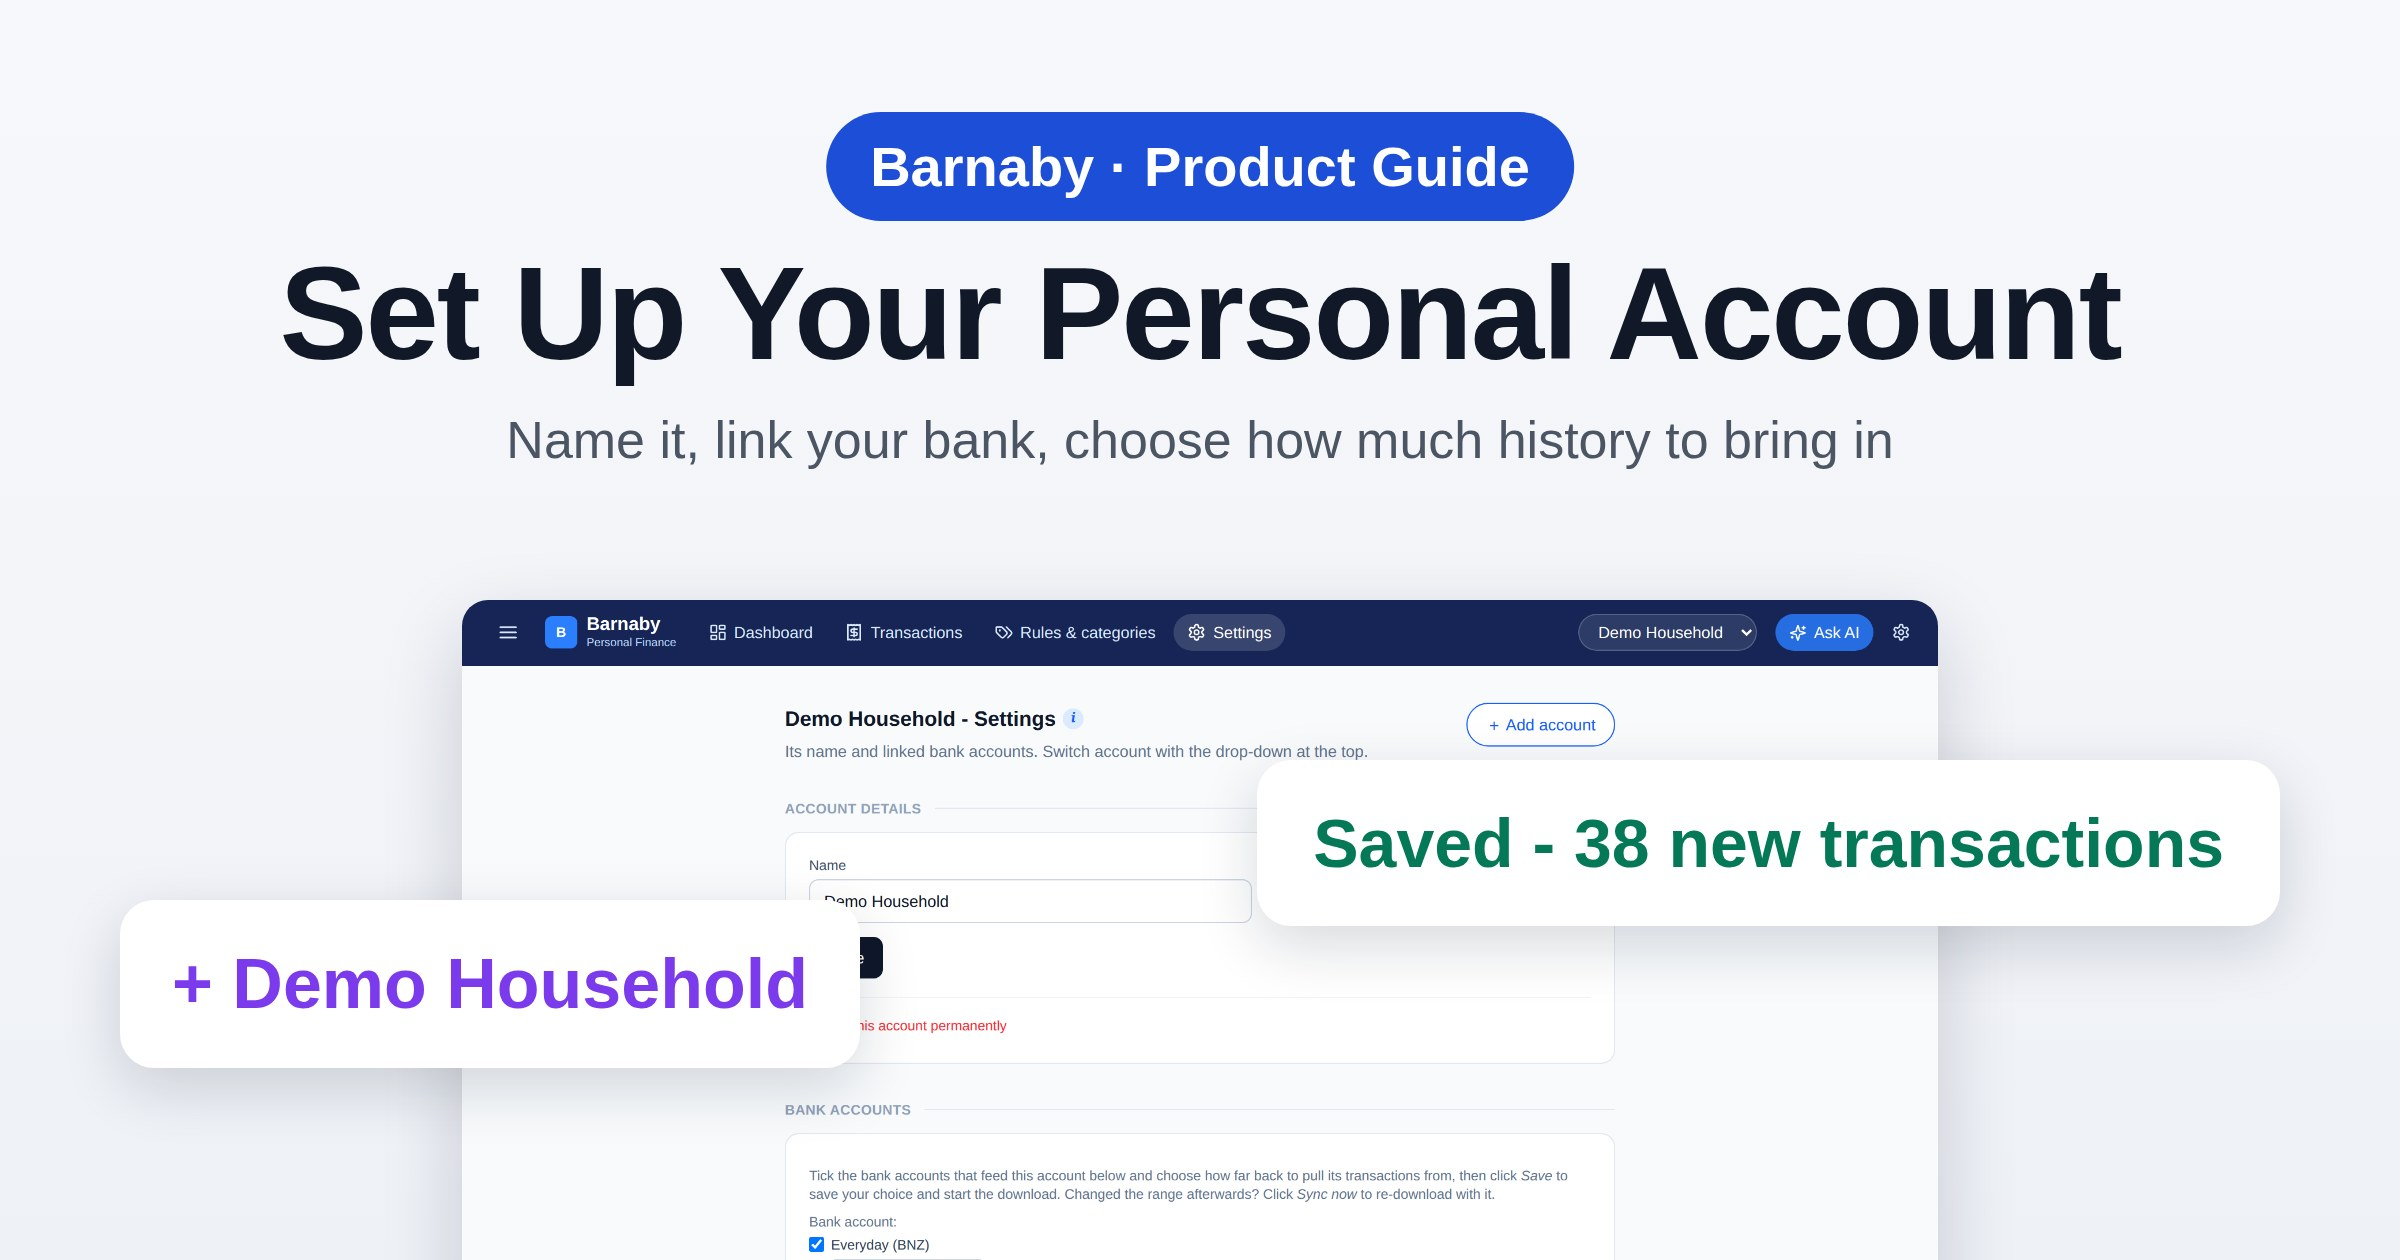
A personal account in Barnaby keeps your own money in one place, separate from your properties and your business. Setting one up takes a minute: give it a name, tick the bank accounts that feed it, and choose how much history to bring in. Here’s how.
1. Open Personal settings
The Personal side of Barnaby is for keeping track of your own money: what comes in, what goes out and where it goes. It isn’t about tax, and nothing here goes on a tax return.
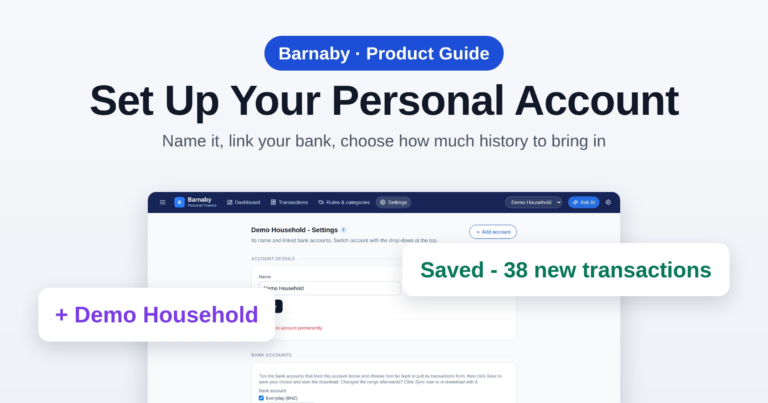
Open Personal, then click Settings, the last tab along the top. Everything about one personal account lives here. If you have more than one, switch between them with the drop-down in the top-right corner.

2. Add your account
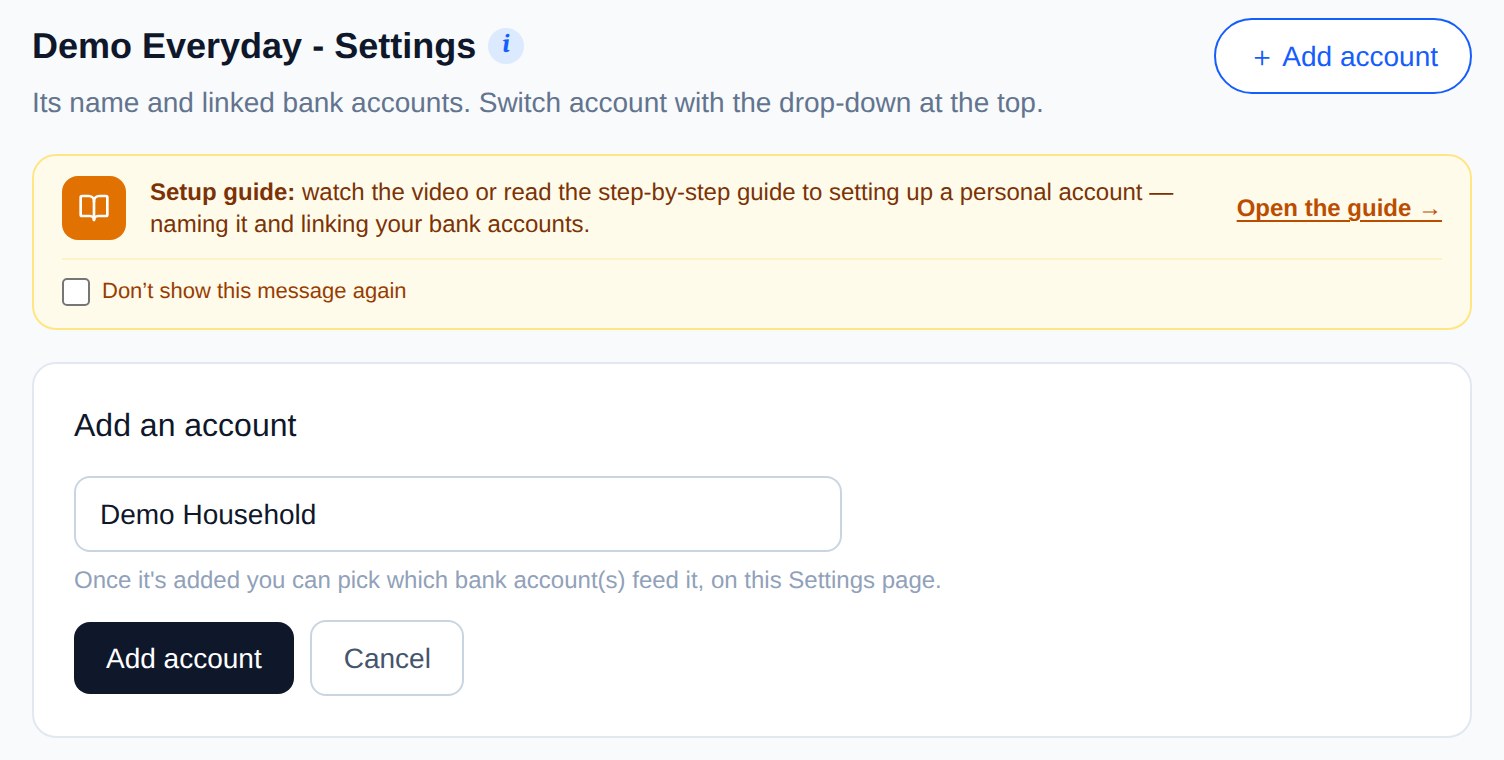
Click + Add account and give it a short, simple name, like Household. The name is only for you, so pick whatever you’ll recognise. Click Add account again and you land straight on its settings.
3. Account details
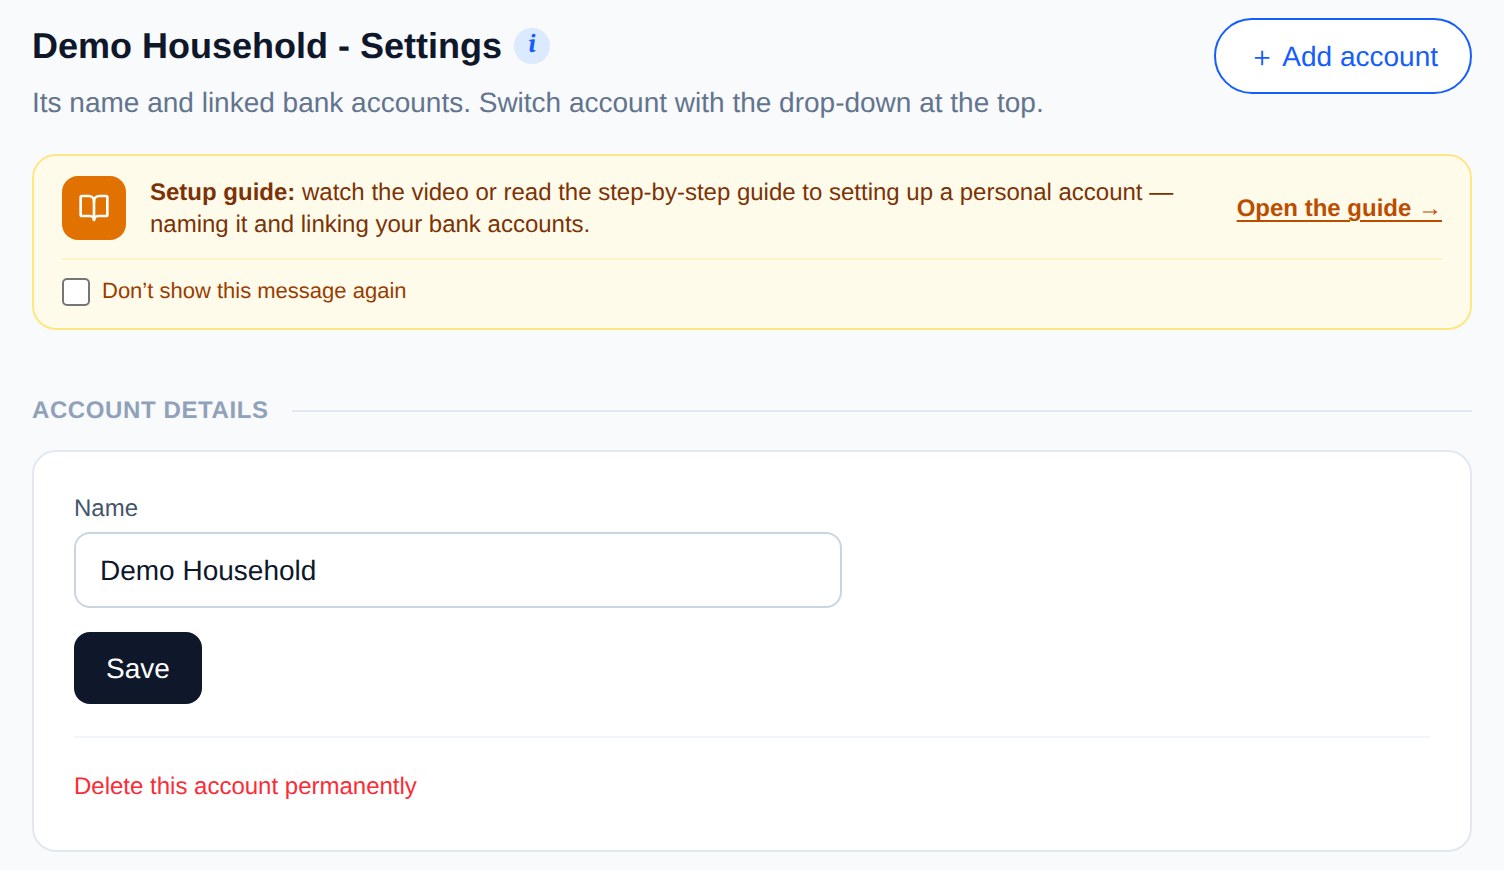
Account details is where you can change the name later. Delete this account permanently removes it for good, so only use it if you’re sure.
4. Link your bank accounts
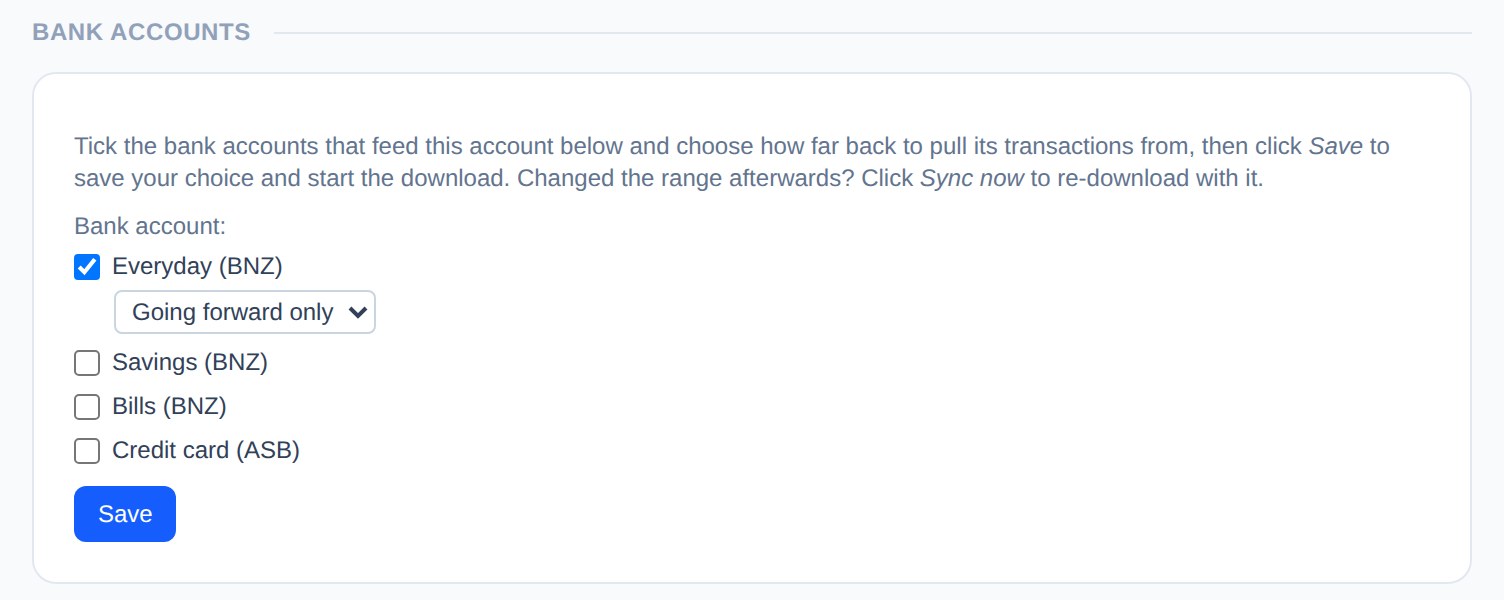
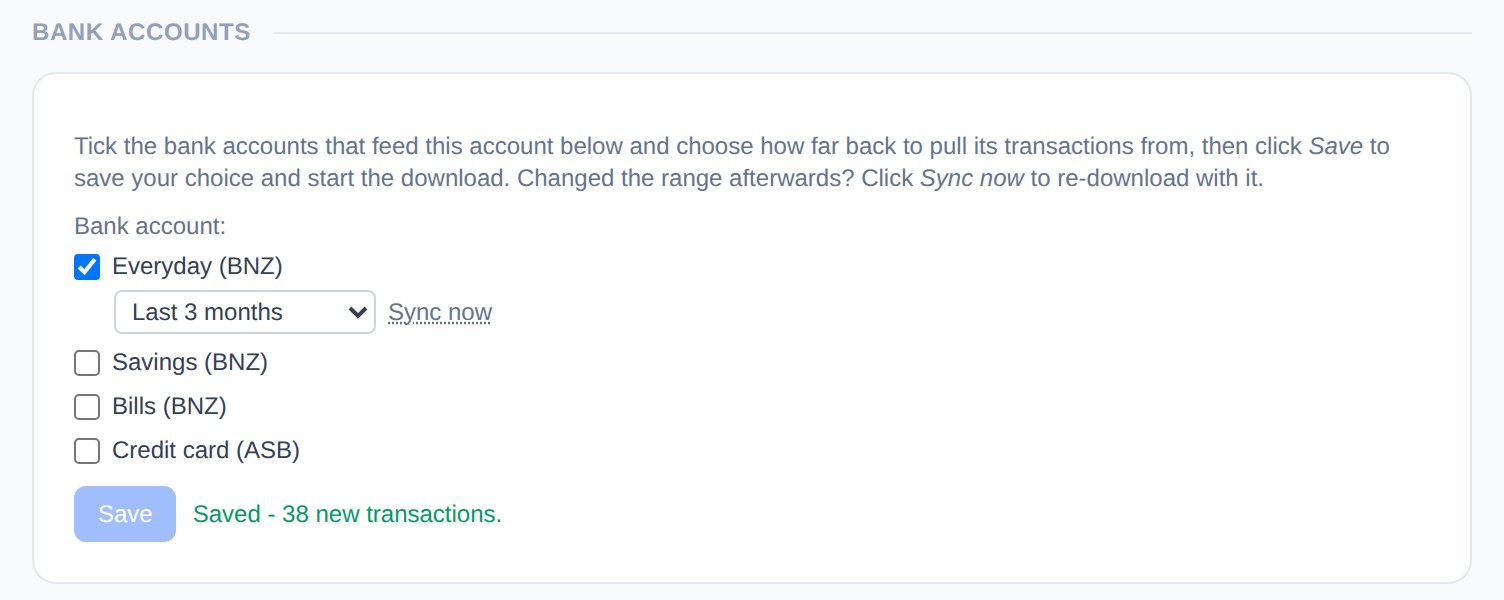
Under Bank accounts, tick the bank account, or accounts, that feed this one. Nothing downloads yet: a range drop-down appears under it and the blue Save button lights up.
Each bank account feeds just one place, so one that’s already linked to a property or a business isn’t listed here. To use it here instead, unlink it there first.
5. Bring in your history
Then choose how far back to go. Going forward only skips the history and brings in new transactions from today. To bring in history too, pick from Last 1 month up to Last 12 months, or Custom to type a number of months, up to 12.
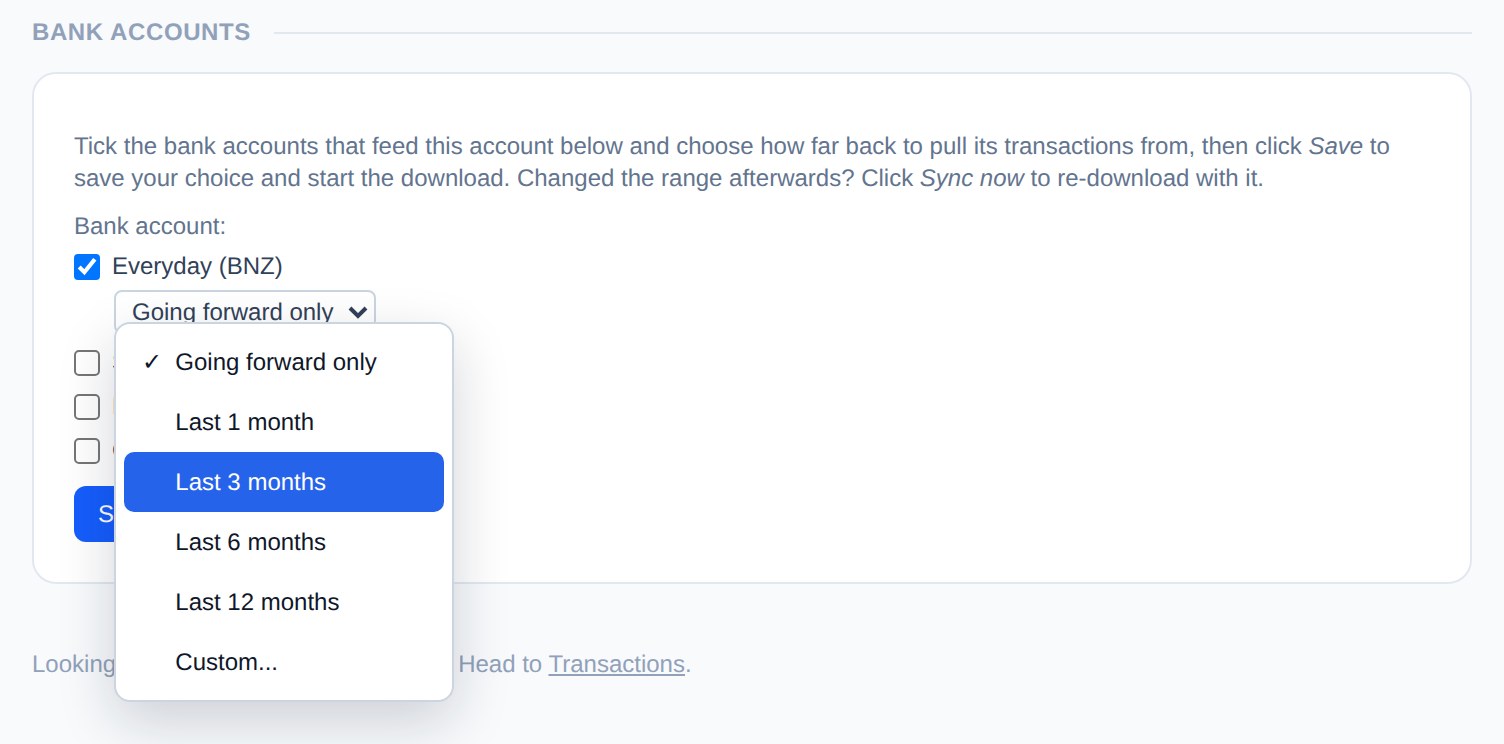
Click Save. Barnaby saves your choice, starts the download and tells you how many new transactions came in. A Sync now link then appears beside the account; if you change its range later, click it to download again with the new range.
6. What’s next
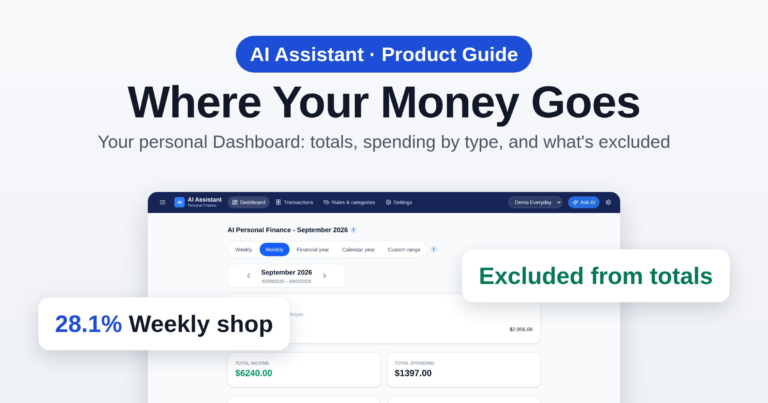
That’s it. Your transactions come in on the Transactions page, sorted into categories, and the Dashboard shows where your money goes.
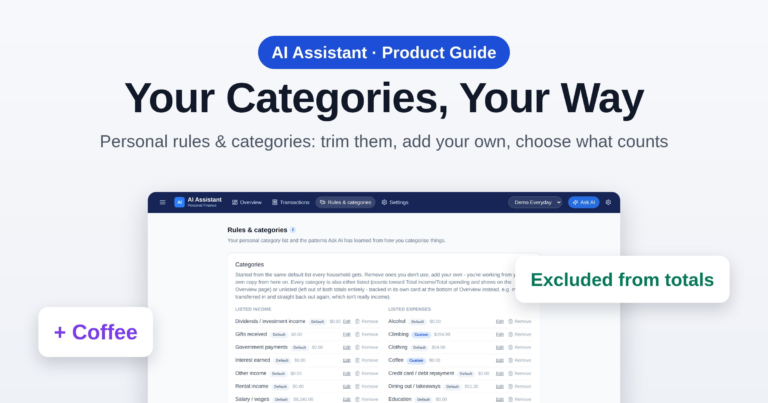
The categories are only a starting suggestion. Add, remove and change them in Rules & categories so they fit the way you want to track your money. The Rules & categories guide shows how.
Keep your own money in view
Set up a personal account, link your bank and see where the money goes.
Get startedScreenshots use test accounts with made-up bank accounts. Barnaby’s personal side is for keeping track of your own money; it isn’t financial advice.